Quickstart
Setup
Get started with our API by following along with this quickstart guide, designed to help you get up and running with our platform in a matter of minutes. You will learn how to bootstrap your sandbox account, generate an API key, create a campaign, and create your first order. Let's dive in!
Sandbox
Request AccessIf you're interested in developing a Giftogram integration, contact our sales team for access to our sandbox
Giftogram URLs
- Sandbox: https://sandbox.giftogram.com
- Production: https://app.giftogram.com
Create an Account
After your request has been granted, you'll need to create an account to access the sandbox environment. To do so, follow the instructions provided by one of our integration associates.
NoteThis account is separate from your production account, so you'll need to create a sandbox account even if you already have a production account.
Log In
After creating your account, go ahead and log in to the sandbox environment. Setting up your API key is a quick and straightforward process, even if you're unfamiliar with Giftogram's.
Navigate to the sandbox login page and enter the credentials you used to sign up.
NoteIf you have a production account, you'll want to double-check that you're logging into the correct url, https://sandbox.giftogram.com.
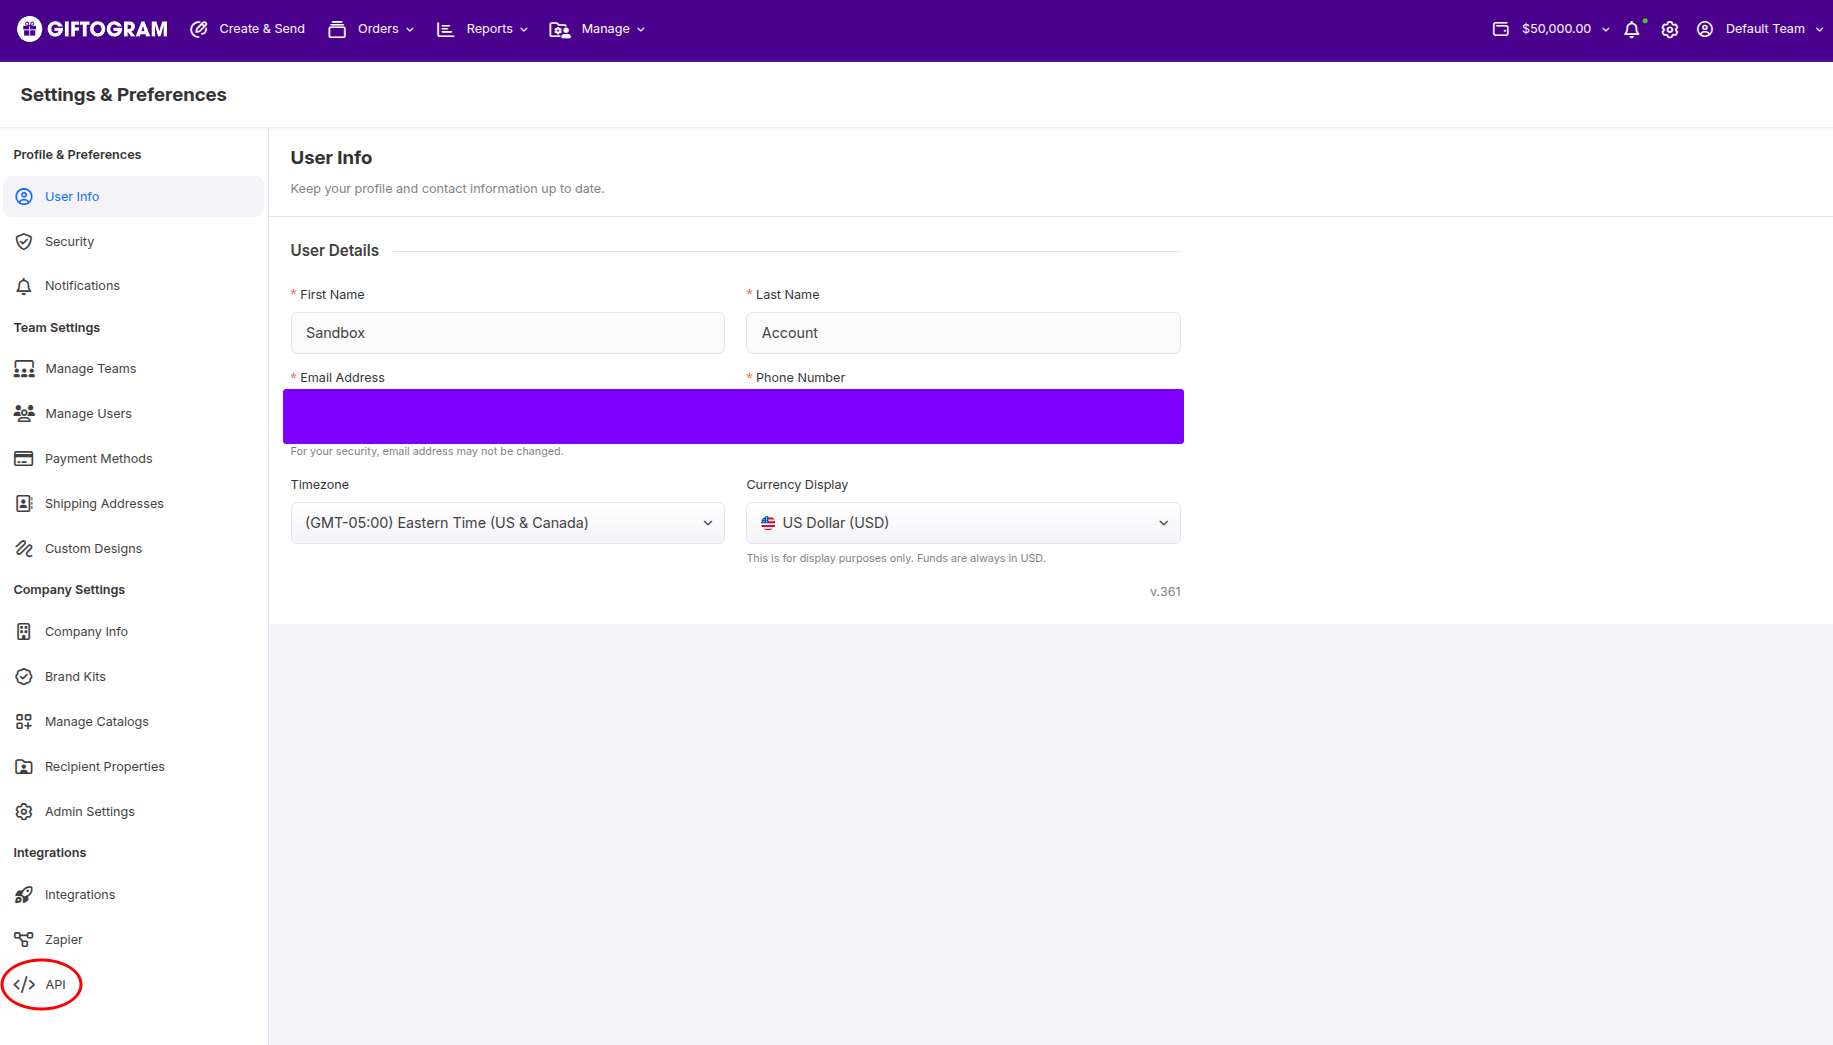
Settings
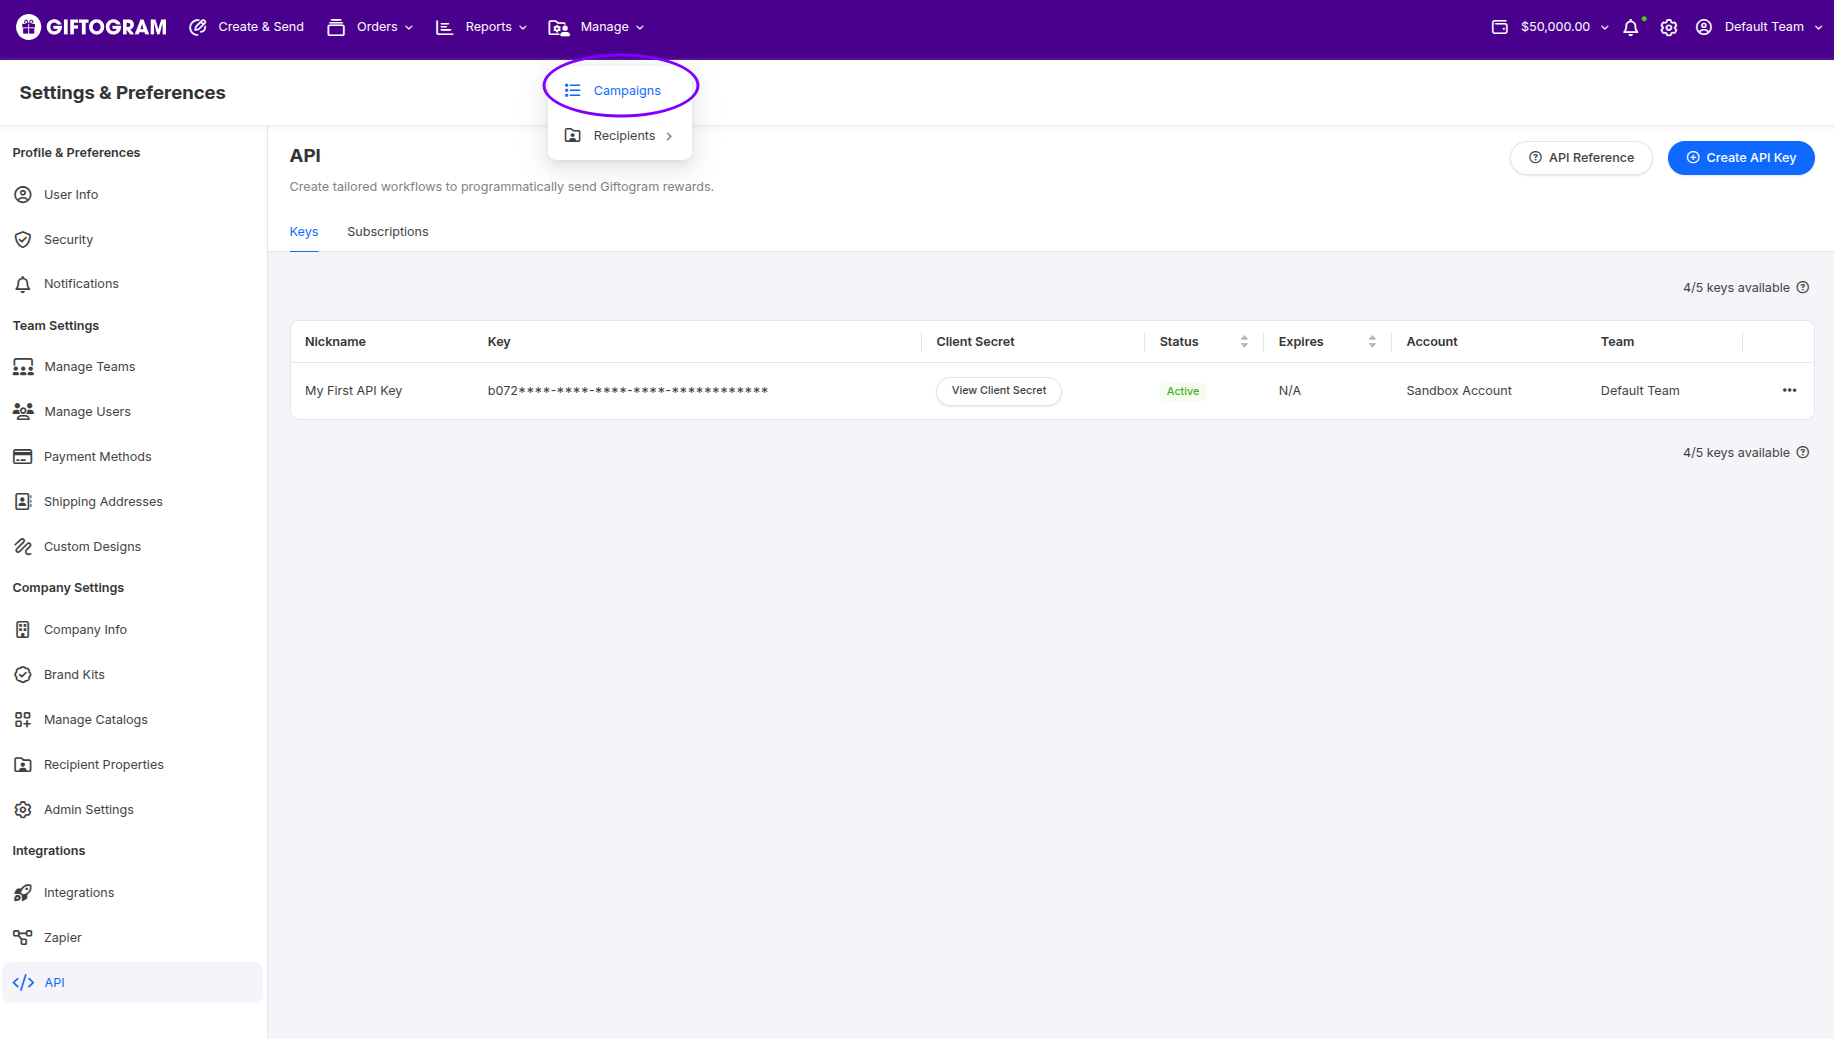
Once you have logged in, click the gear in the top-right to proceed to the settings page. Navigate to the API section in the bottom left corner. This is where you can manage all your API related configurations. For now, we only need to focus on generating an API key.
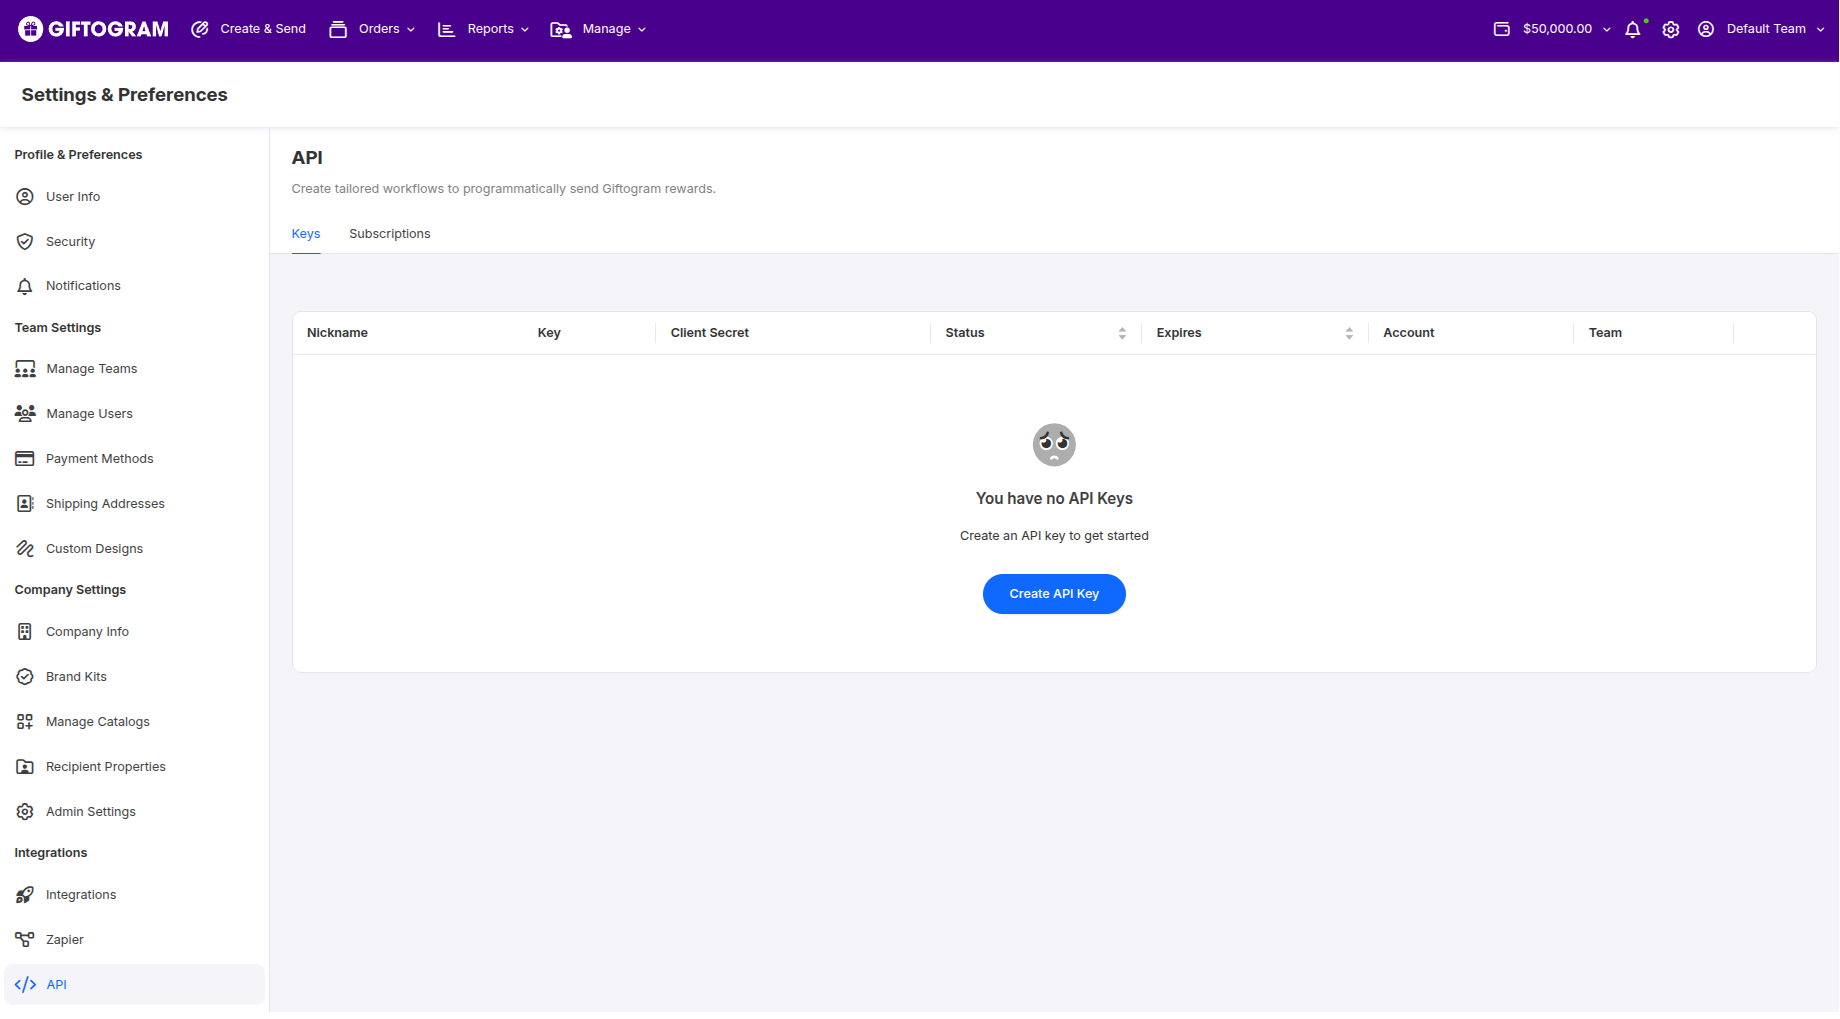
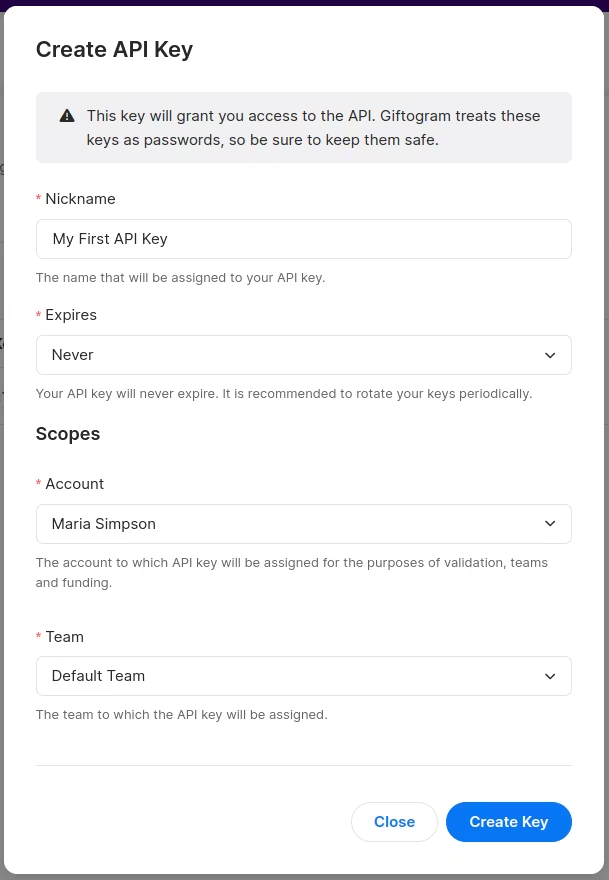
Generate API Key
Now that we've navigated to the API section, click Generate Key. This will provide you with a unique key, which will be utilized to authenticate your API requests during the testing phase. Ensure you keep this key secure as it's essential for accessing the API.
NoteOnce generated, you will not be able to access this key again. For security reasons, we do not store your API key, so ensure you keep it secret.
The Subscriptions section allows you to generate webhooks. These are a useful way to receive communications about different lifecycle event in your integration and have a separate section devoted to them.

Congratulations, you've successfully created your first API key. You're now ready to move on to the next step, creating a campaign.
Create a Campaign
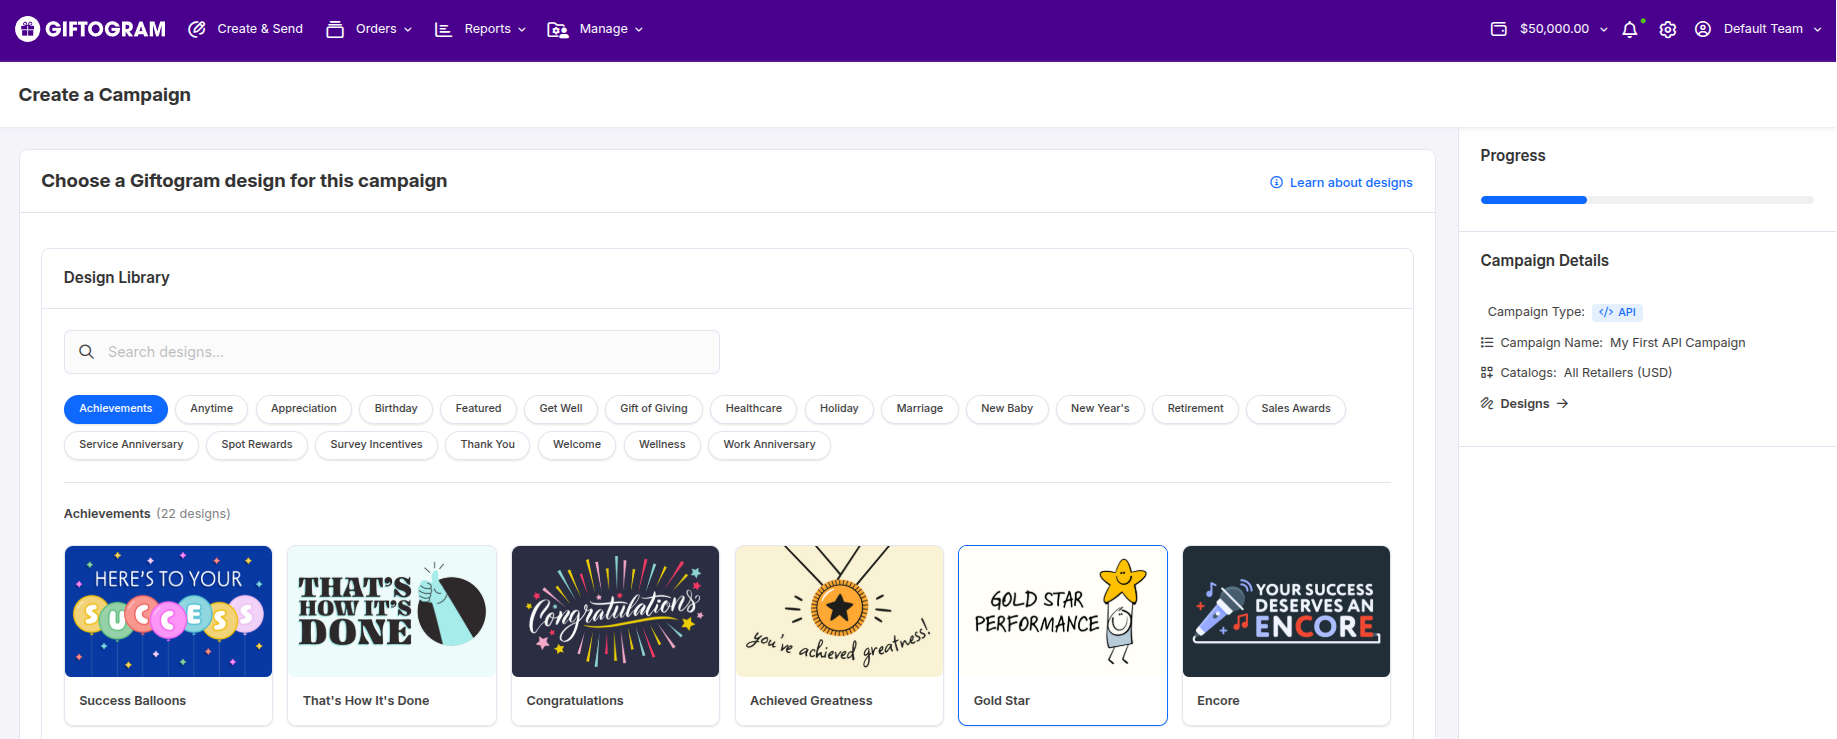
We are going to create a campaign that we will reference in our API calls. Think of a campaign as a container used to manage designs, denominations, brand kits, and other settings for your orders.
Campaigns
From your dashboard, navigate to the Campaigns section of our application.
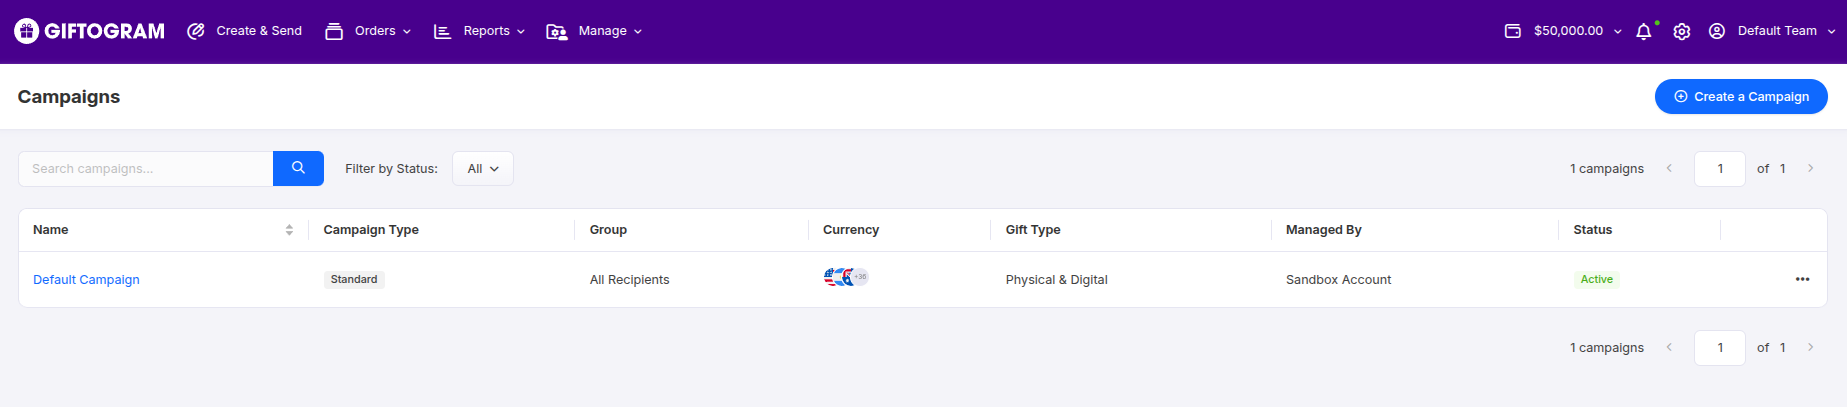
Click on the button labeled Create a Campaign. We are going to select API Campaign as the type of campaign we want to create.
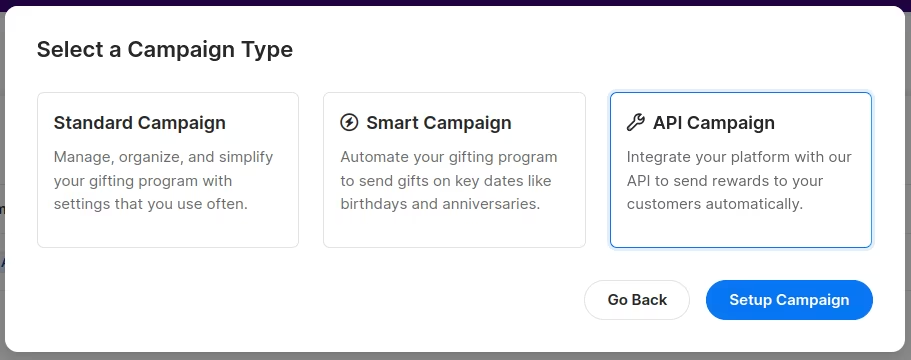
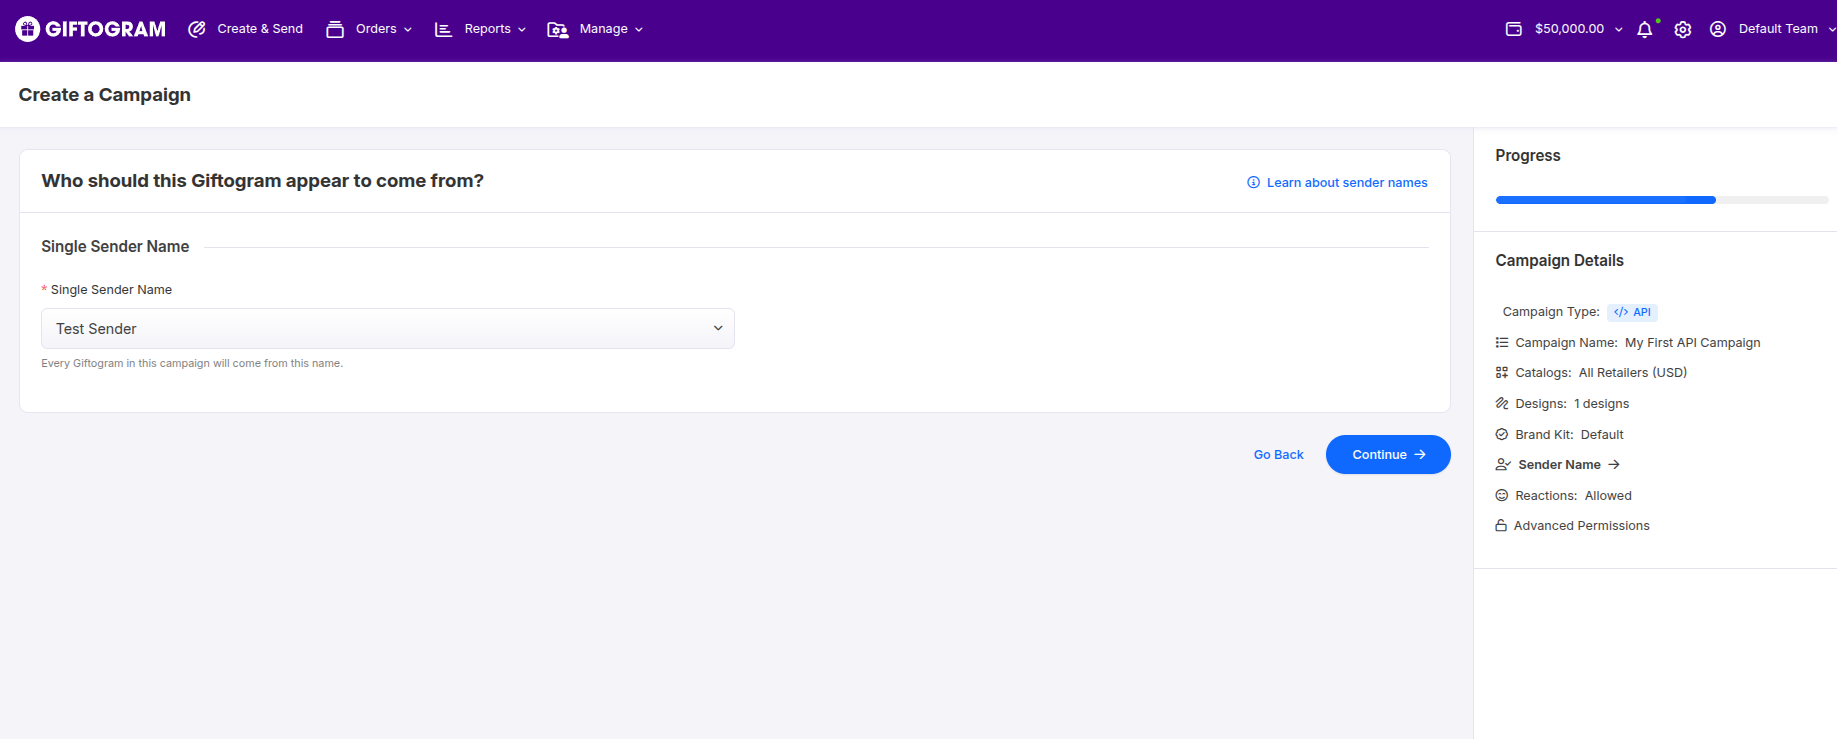
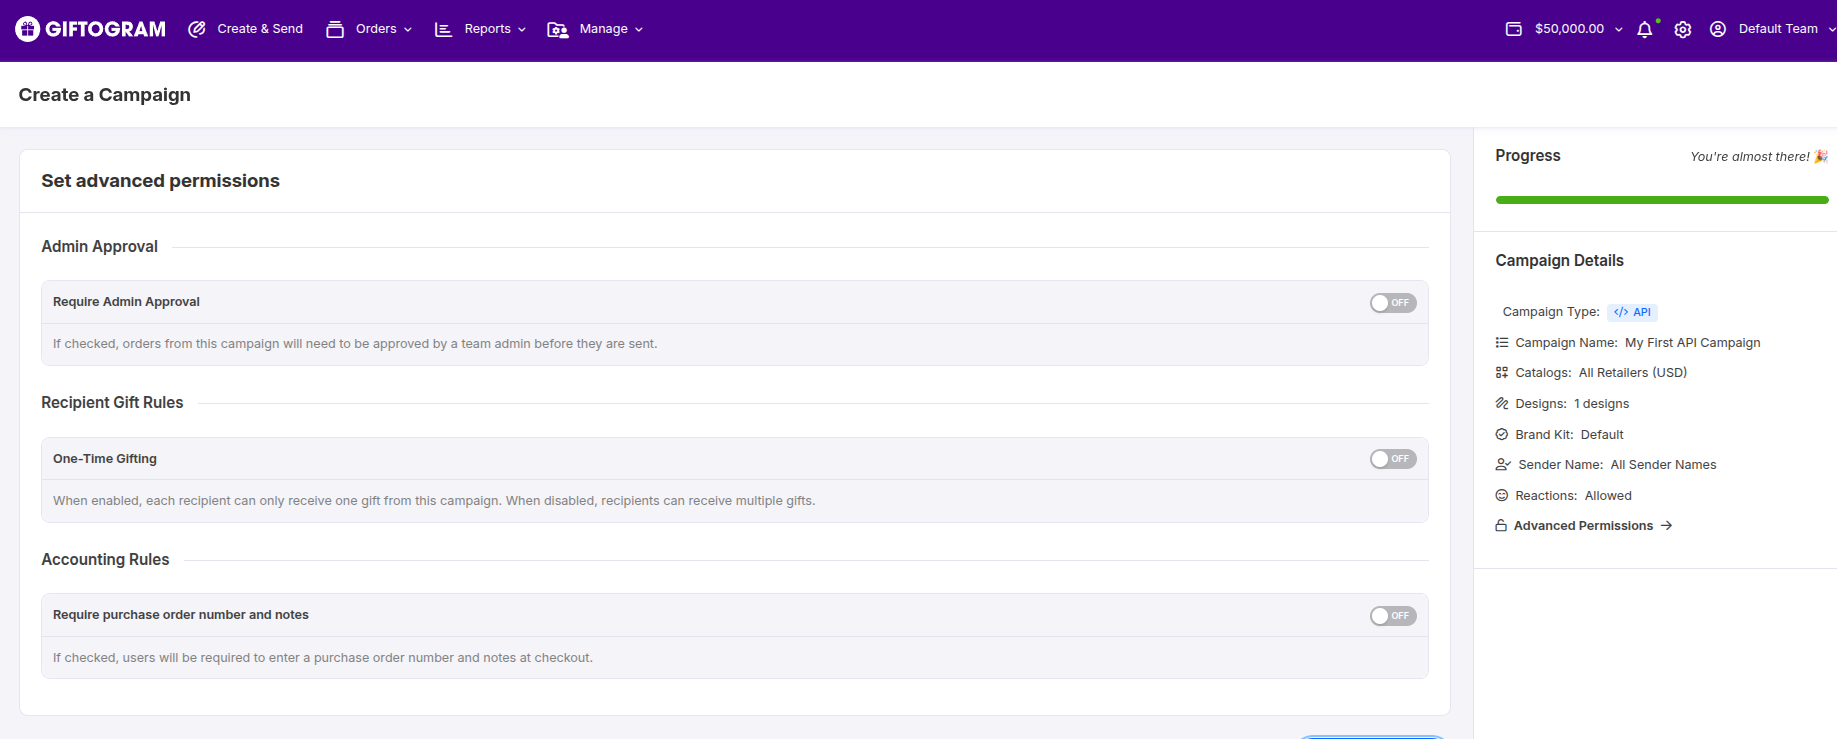
Once you've selected API Campaign as your campaign type, we will need to fill in the necessary details. For now, we're going to fill in the fields with some basic information. You can always come back and update these details later.
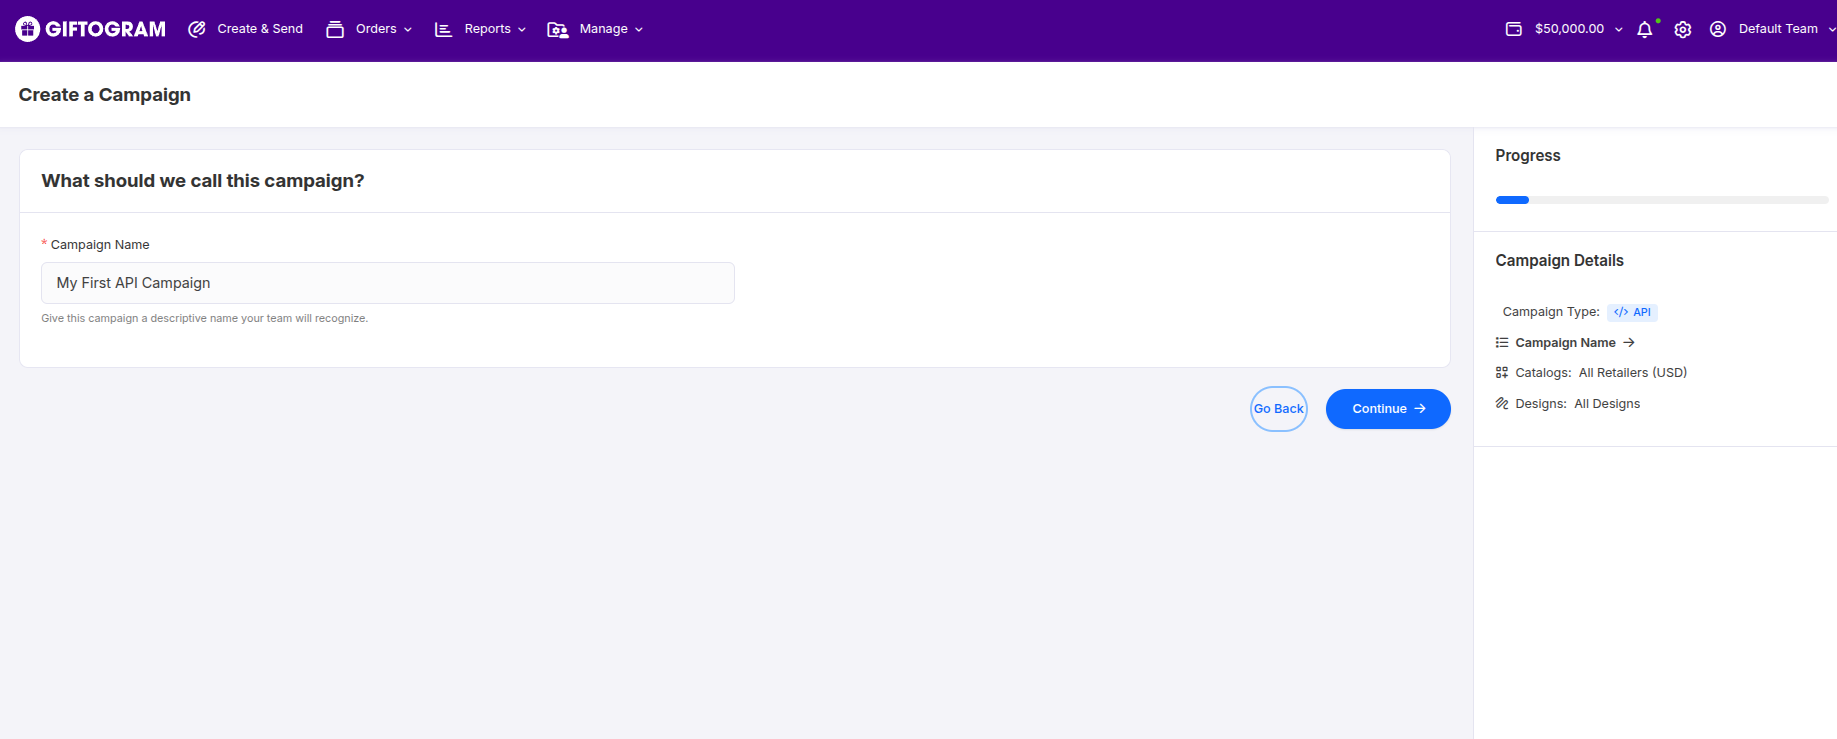
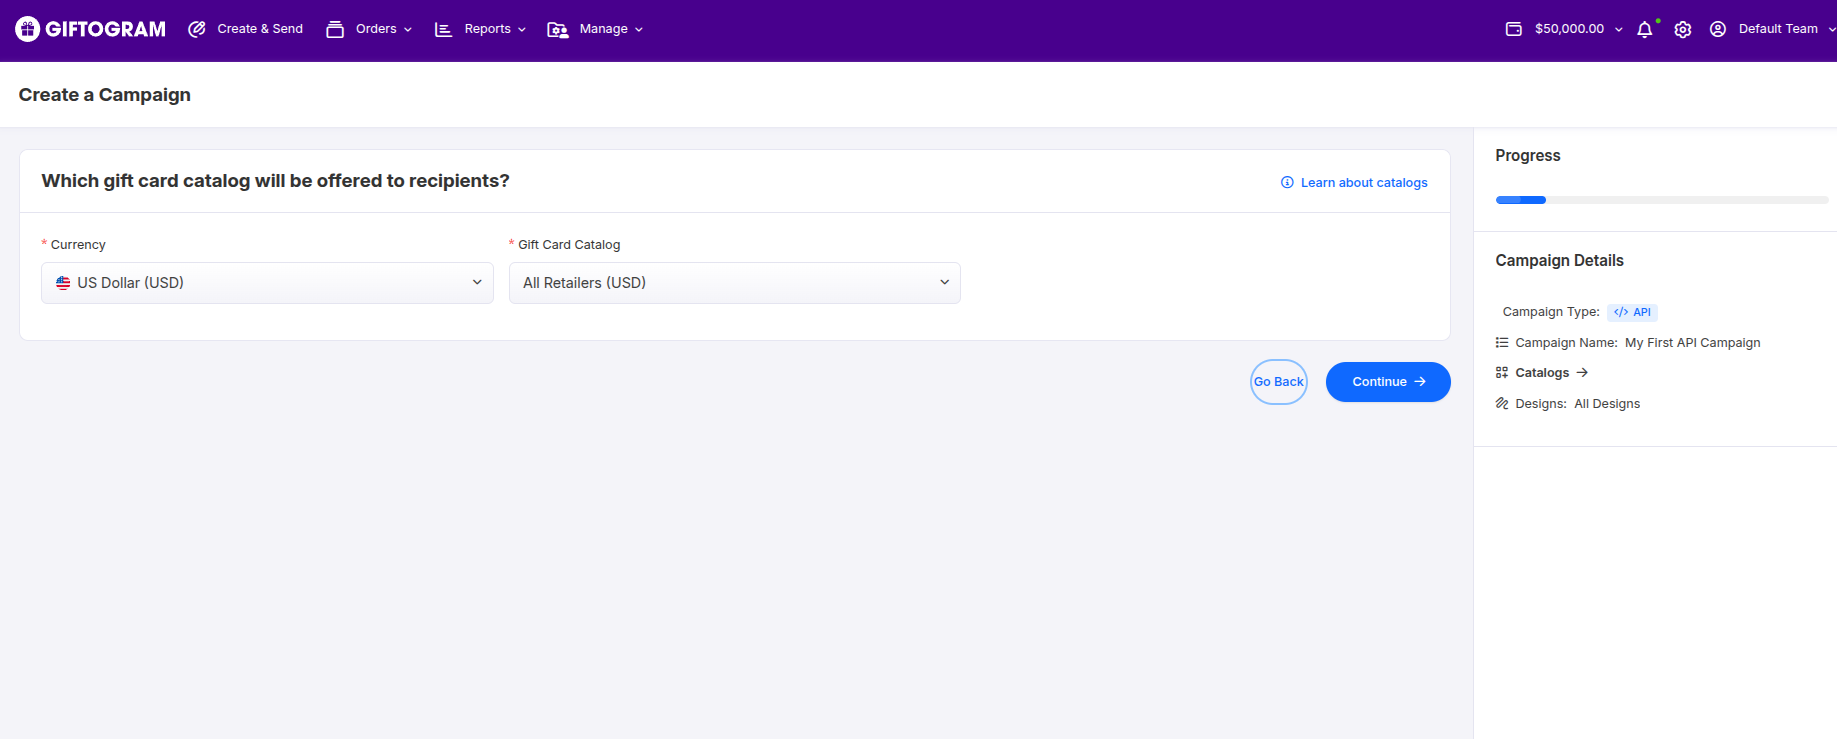
After furnishing all the necessary information, click Create Campaign to create your API Campaign.
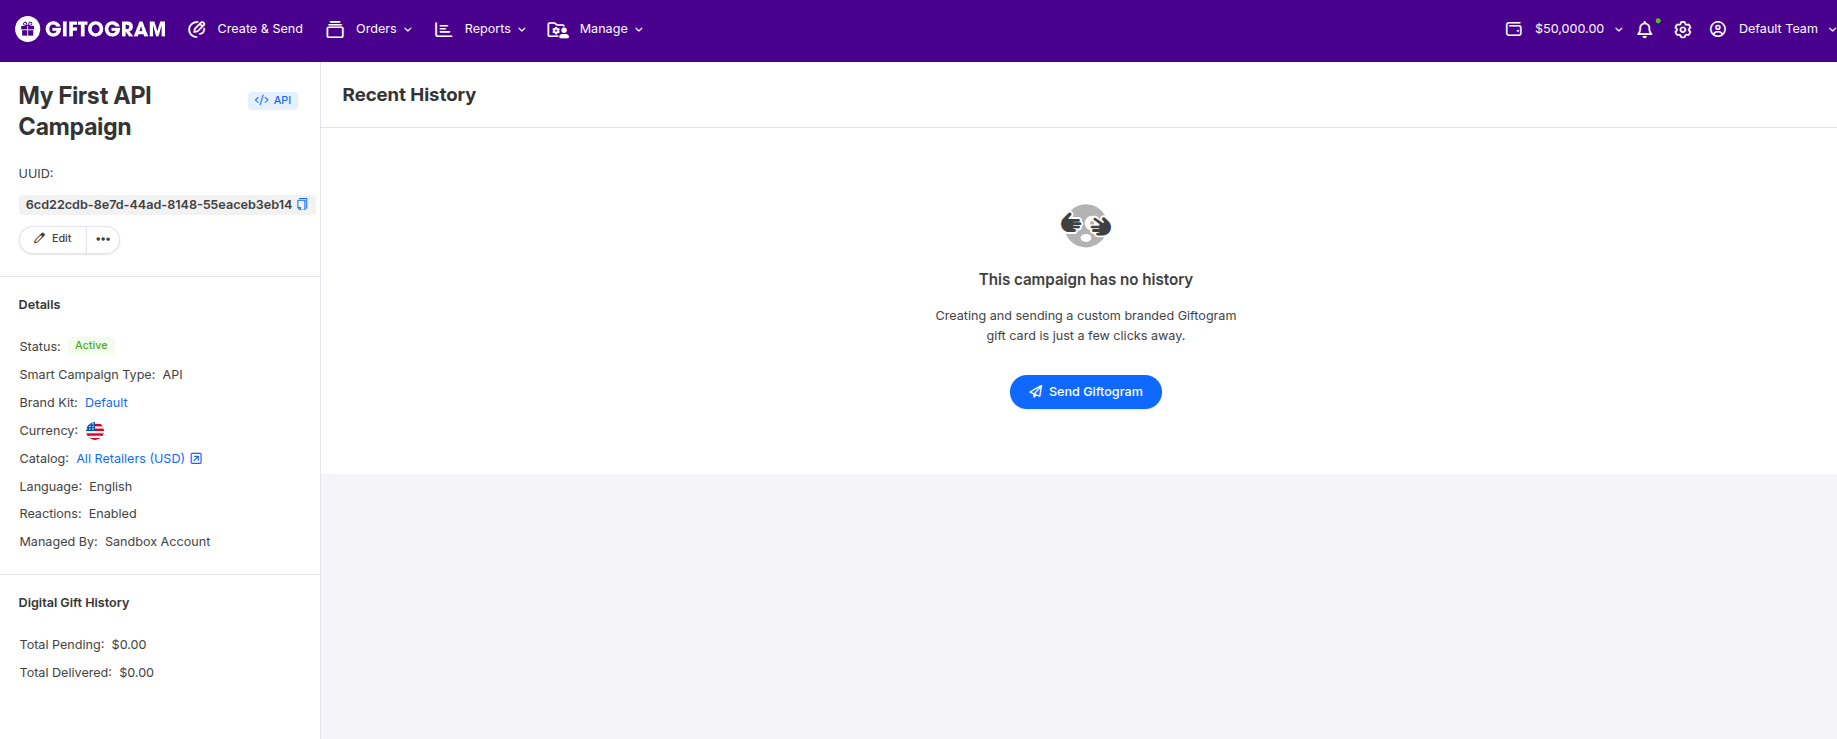
If successful, a message will indicate you've created the campaign.
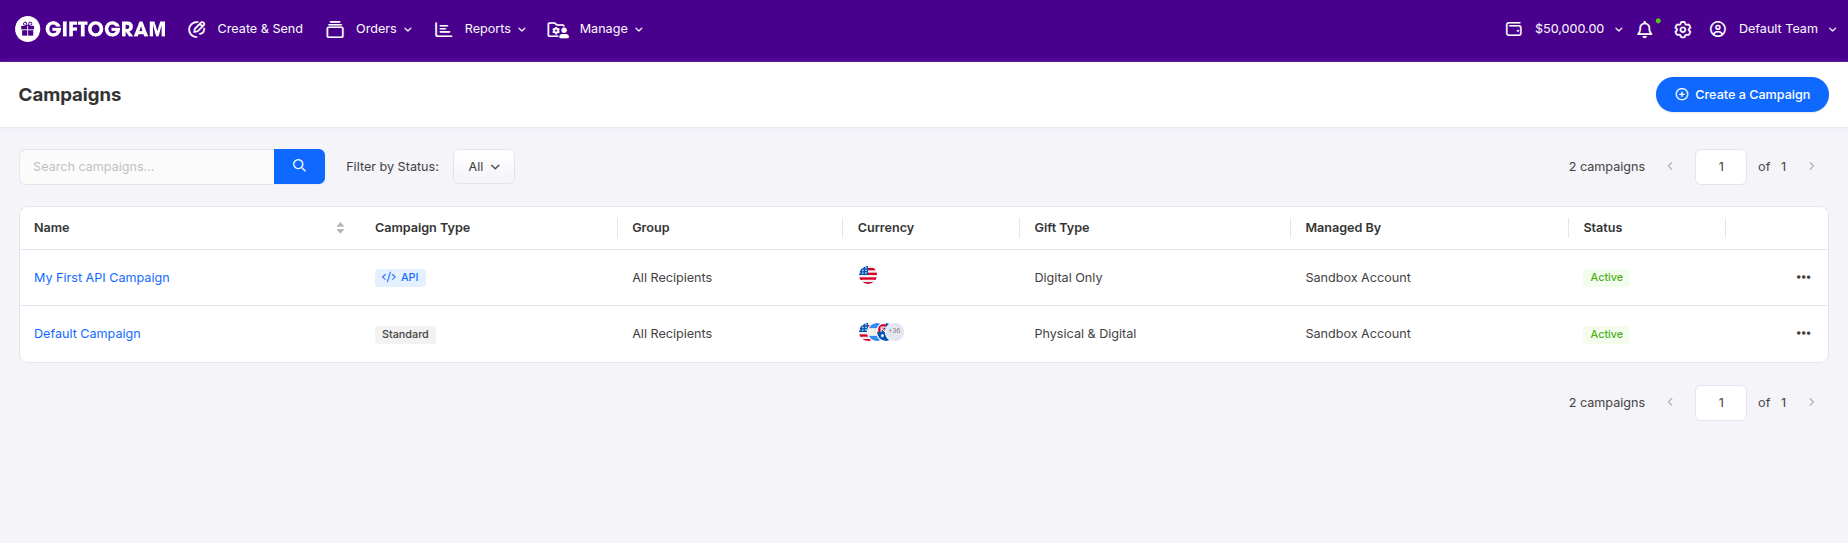
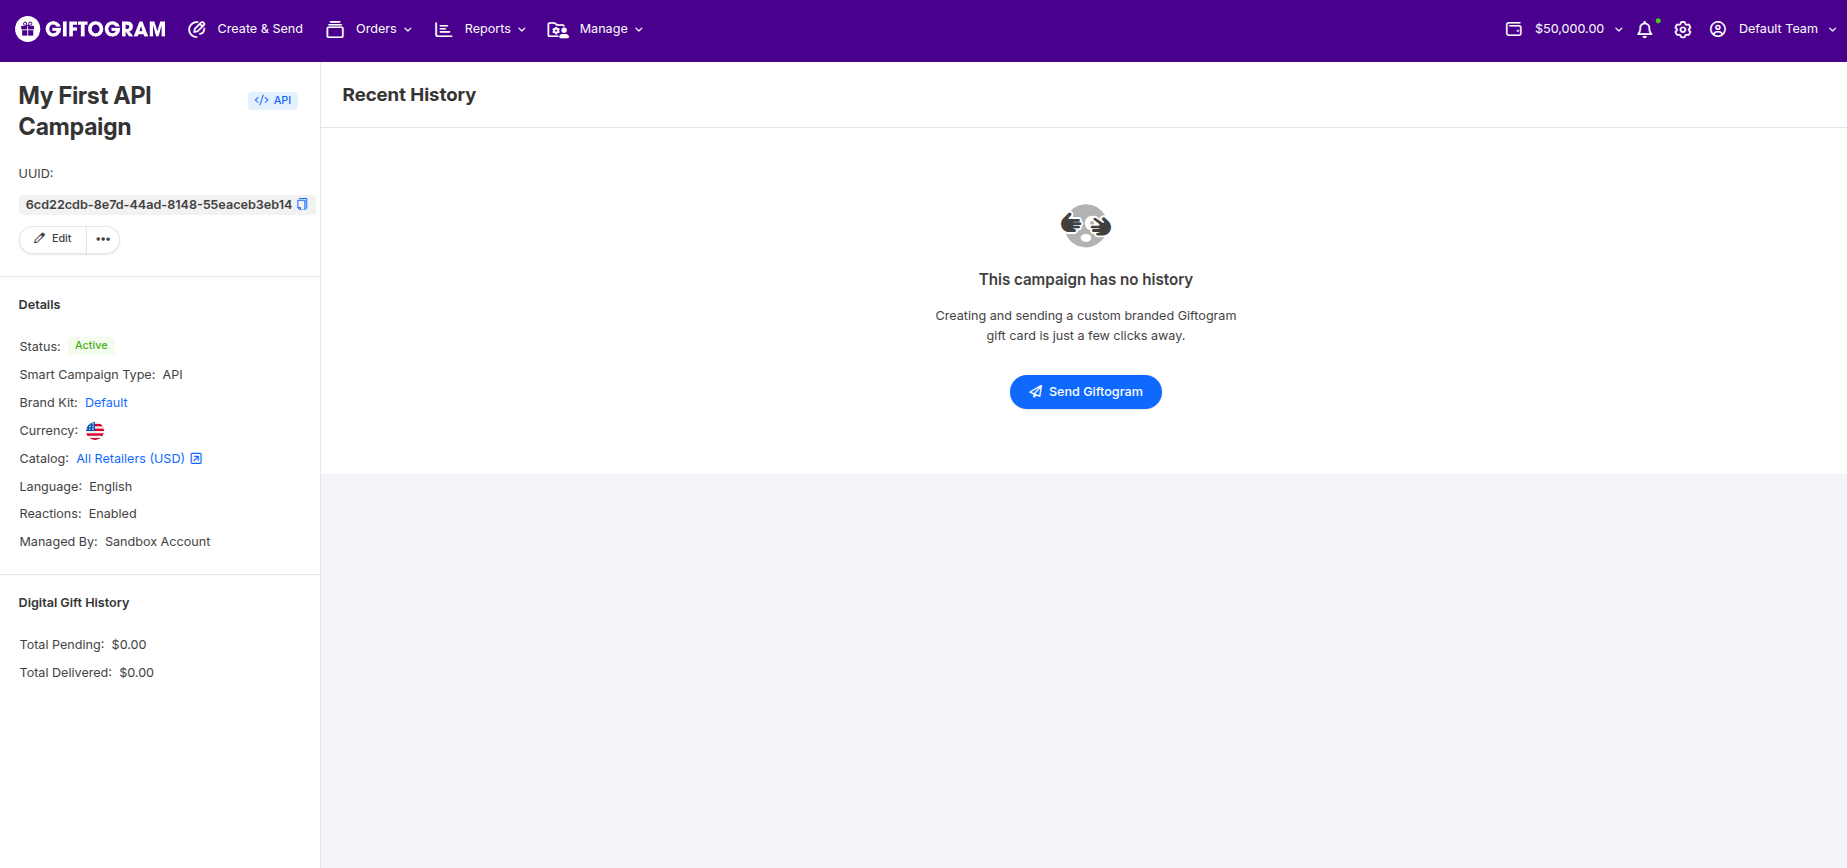
We will require the campaign ID for our api calls, so click on the campaign we've created (in this case, My First API Campaign) to view the details and grab the UUID from the left-hand side of the screen.
Congratulations, you've successfully created your first campaign. These campaigns are essential for integrating with our API, as they allow you to easily place an order with minimal configuration. Feel free to experiment with different campaigns and designs to familiarize yourself with the platform.
In the next section Prototype, you will learn how to use both the API key you generated and the campaign you've just made to simulate a request on our platform.
Prototype
Now that we've set up our sandbox account, generated an API key, and created a campaign, we're ready to test our first API call.
Let's simulate a create order request using the API key you generated earlier.
Your sandbox account has been pre-seeded with credit, so you can run your tests without worrying about costs.
Create Order
Let's craft an API request to create an order using curl. This request will simulate a real-world scenario where you send a gift card to a recipient.
For now, our request will be simple and reference the campaign we created earlier.
Note
- All sandbox emails will be send to the email of the sandbox account associated with the API key. If a phone number is provded for SMS delivery, the message will be sent to the number saved in your Sandbox account profile.
- Sandbox orders are rate-limited at 5 per minute & 100 per hour.
   curl --request post \
   --url 'https://api.giftogram.com/api/v1/order' \
   --header 'Content-Type: application/json' \
   --header 'Authorization: "<Your API Key Here>"' \
   --data 'external_id: "<Unique ID for the order>"' \
   --data 'campaign_id: "<Your Campaign ID>"' \
   --data 'notes: "<Any additional notes>"' \
   --data 'reference_number: "<Your Reference Number>"' \
   --data 'message: "<Your Message to the recipient>"' \
   --data 'subject: "<Subject>"' \
   --data 'recipients: [{
         "email": "[email protected]",
         "name": "Recipient Name"
      }]' \
   --data 'denomination: 100'
We sent a gift to [email protected] above, so the person in charge of this email address should check their inbox for the gift card.
You did it! We've successfully setup our key and created an order using our API. Feel free to experiment with different parameters and endpoints to familiarize yourself with our platform.
If you require further assistance, please don't hesitate to reach out to our support team. We're here to help you succeed.
Updated 2 days ago